Sunday, June 22, 2014

HOME - IMAGINE IF.... BLOG HOP

Well It's that time again!!!

Time for another Imagine if Blog Hop.
Make sure if you want to enter to follow all the links given at the end of the post comment and you could win something awesome from Jo at Imagine if.....


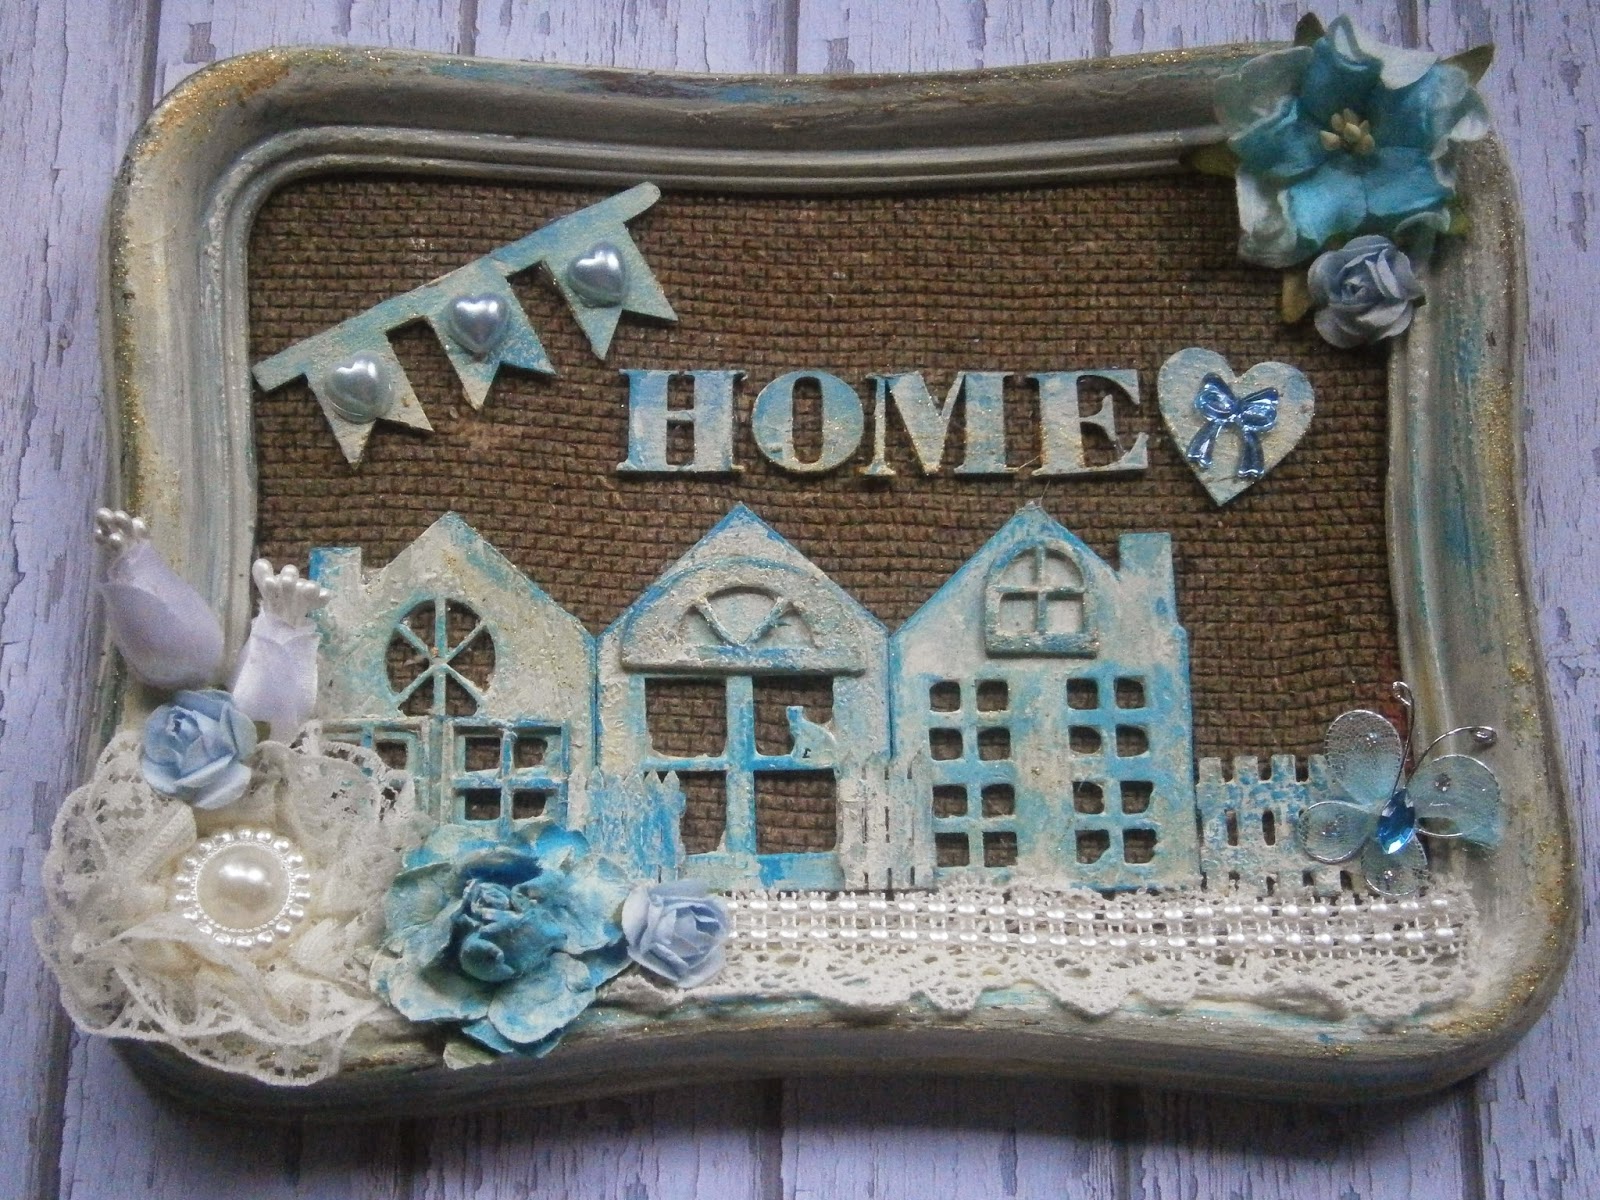
This week I upcycled and old frame...I thought it was such a good score from the trift shop because it already had the burlap background.

I went about doing the frame by a couple of coats of Teal acrylic and then a coat of Antique Cream acrylic.  I then tried a crackle effect medium and as always I totally failed.
I sanded down the raised edges so some of the wood could come through and then rubbed some golod flake medium in places to add interest and highlights.

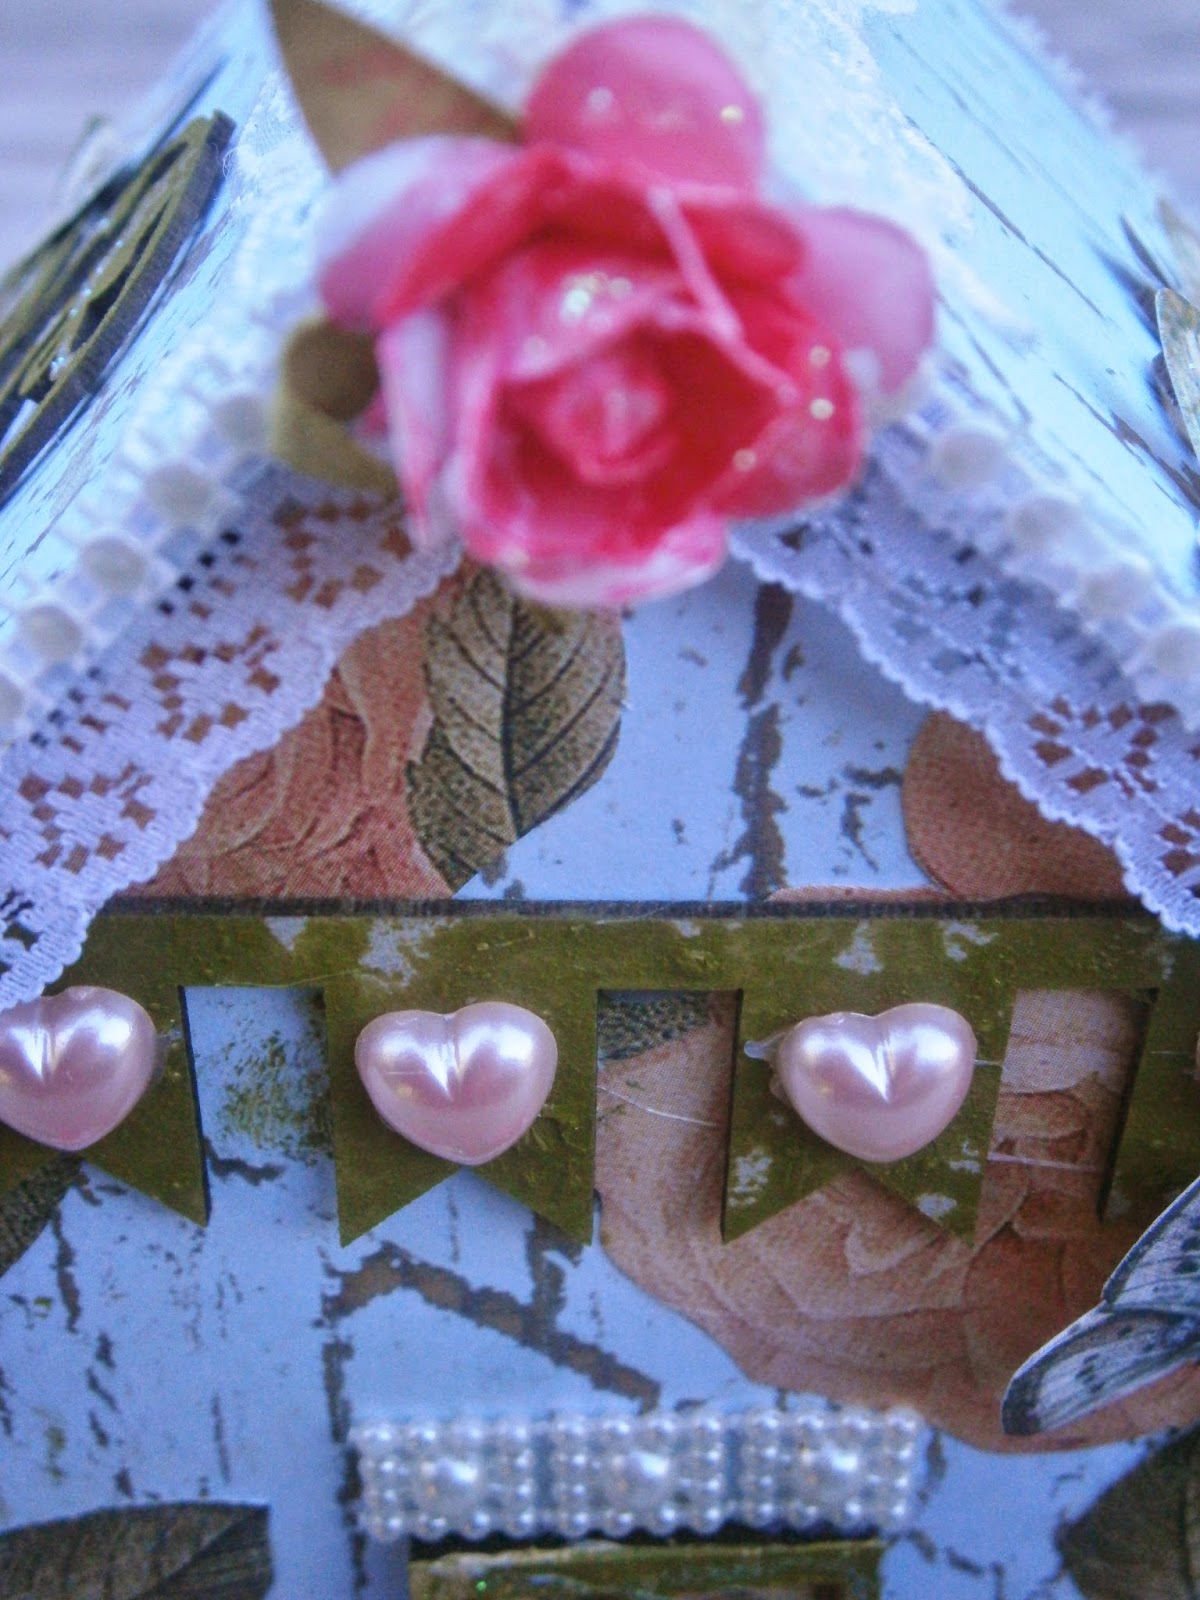
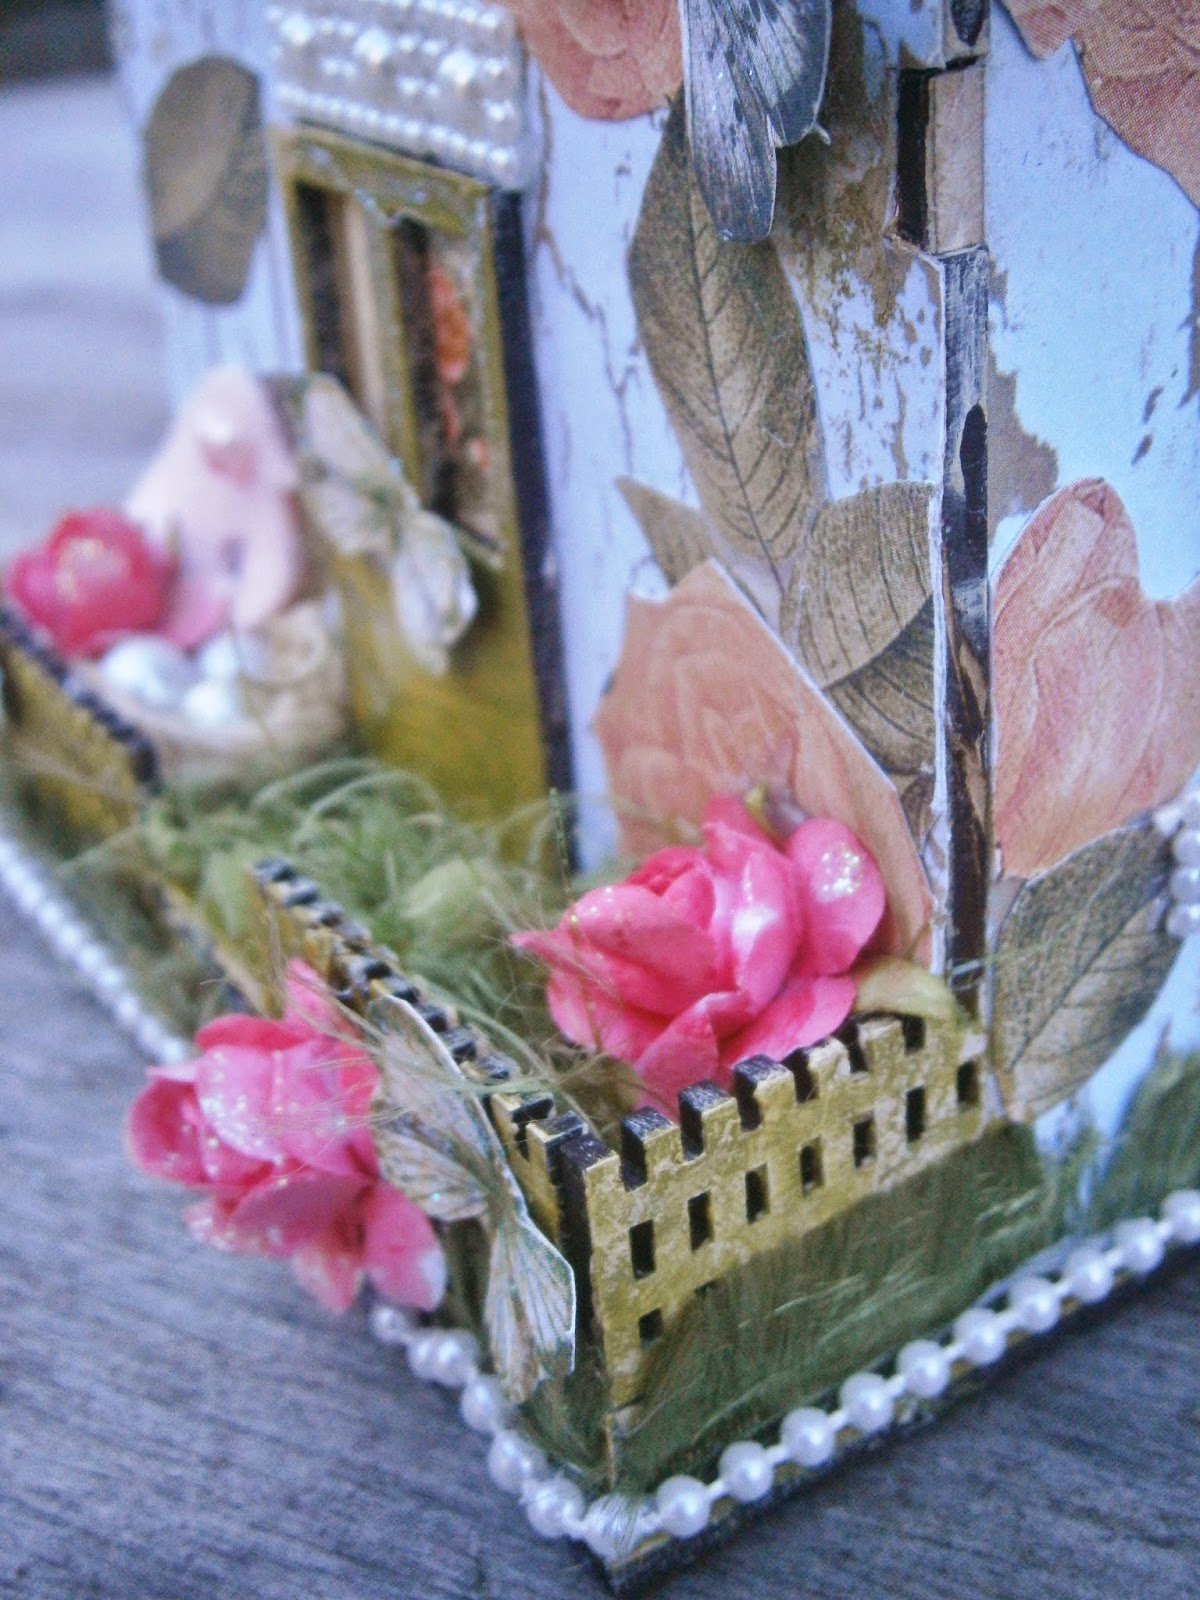
The chipboard pieces I used the same tech nique except for the sanding.  I then embellished with one of my handcrafted lace flowers and some paper ones added some trim and there we have it!!!


Here's the links to follow to be part of the blog hop :)

TO GO TO THE PREVIOUS BLOG CLICK HERE

TO GO TO THE NEXT BLOG CLICK HERE

Thank you for joining me on my blog
be sure to come join me on my other social network sites too.

Happy Crafting
Tasha


http://www.rafflecopter.com/rafl/display/6aa7163/

Monday, June 16, 2014

Flowers - Vintage Inspired.

Hey there I just wanted to show you the flowers I have been making today :)


 I love to make flowers and just wanted to share what I've been up to :)

Happy crafting xx

Shabby Chic Embellishments

 
Hey guys
I have been busy making loads and loads of flowers.  I love to make my own embellishments and I remembered seeing a youtube vid on these awesome embellishments a couple of weeks ago.
The lady on youtube who inspired me goes by the youtube name Tootooamy.  She is a great crafter and has heaps of amazing ideas and tutorials.
 
These are the flower centers I came up with.


Basically all you do is gather up all those big buttons....and get together all those teeny tiny embellishments and adhere them on.  Anything you use will be gorgeous I promis...a great wat to use those buttons that never seem to make it on to our projects and I have this little container that I throw all those little doo dads in that I can't be bothered putting away.
 
WARNING!!! These are addictive...once you start you want to make more...much...much more!!


If you love shabby chic and you love to make embellishments I hope you give this a try :)
 
Here's my vid I made about them.


Happy crafting!!!
Tasha xx

Sunday, June 15, 2014

Butterfly Cottage - Blog Hop

Hey there here's my Design team project for Imagine if...


 Back again guys with another Blog Hop!!
 
This time my fellow design team mates and I are featuring the gorgeous little houses...and like the carousel you get to construct and then decorate them any way you please.
For mine I went with a butterfly cottage theme.


As you can see it comes in several pieces to construct.


Once that is done it is time to decorate and embellish.
I covered the house with some weathered board type paper I had in my stash.  I then did some fussy cutting and cut out these beautiful roses from g45 A ladies Diary paper stack, and collaged them on with modge podge.


Embellished the house with lace on the roof...eyelash fibres for grass and pearl strand.


 I used TH distress paint to paint all the chip board bits and coloured up the little roses with TH distress stains.
Pretty pleased with how this came out and it was so much fun.  Be sure if you wanna win one of these little houses for yourself to get involved in on the swap...all you have to do is leave a comment and be sure to follow all the links and check out all the other designers houses. Fun Fun Fun :)

Happy blog hopping.

CLICK HERE TO GO TO THE PREVIOUS BLOG

CLICK HERE TO MOVE ON TO THE NEXT BLOG

Tasha xx
 

a Rafflecopter giveaway

Sunday, June 8, 2014

Butterfly Carousel - Laser cut chipboard

Wow what a busy couple of weeks it has been.  So glad to have some crafty time and get stuck into doing my DT Project for Imagine if ...

This post is also part of Imagine if's.. blog hop so be sure to click on the links at the bottom and comment on all the Design teams posts to be in to win your own laser cut Carousel to decorate and embellish how ever you want. FUN FUN FUN!!!!!!
 
This whimsical project was easy and fun to make.  With the pieces all cut and scored for you it is just a case of contsructing it and then getting to the good bit of decorating and embellishing.


As you can see below the pieces need to be assembled...I must say at first it was a bit daunting as this kind of project is a bit different for me but once I set to it...it was easy peasy.  I adhered most pieces with hotglue and quick dry wet glue.  After getting the main bits put together I gave it a coat of cream acrylic.


To cover my pieces of chipboard I used designer paper from Kaiser craft - Bonjour.
placed a paper doilie in the middle and dressed some of the edges with some trims from my stash.


I used B.B.Q skewers for poles and tidied up the edges with some pearl trim that I got from RetailGirl...I added some dimentional mulberry paper flowers to the bottom of the middle bit.

Here are some pictures of the finished carousel...you can see I embellished with some of my favourite things Pearls and stickles :)


So there you have it my Carousal for Imagine if...
Be sure to check out my fellow designers and see there amazing creations...and also make sure you follow these links to see more of my crafty carry ons and where you can buy some awesome laser cut templates and embellishments.

HERE IS THE LINK TO THE PREVIOUS POST SO GO AHEAD CLICK HERE TO BE IN TO WIN.
AND ALSO CLICK HERE TO GO DIRECTLY TO THE NEXT POST.


https://www.facebook.com/WithAllMyArtSoul

Imagine if....
https://www.facebook.com/ImagineIfNZ
http://www.imagineif.co.nz/

Retailgirl
https://www.facebook.com/Retailgirl
http://www.trademe.co.nz/Members/Listings.aspx

Happy crafting!!!!!
 

a Rafflecopter giveaway